Featured Listings

BreastfeedingMomsUnite ~ Donate, Buy and Sell Breast Milk Online!
BreastfeedingMomsUnite is the biggest worldwide marketplace for donating, buying and selling breast milk. Putting individual donors and sellers in direct contact with breast milk buyers. We walk you through the entire breast milk donation, selling & buying process with the aim for a fun, simple and fair experience for everyone.
Our unique Breast milk Seller’s Guidelines will take you through the procedure of donating, selling breast milk in the best way possible to maximize the sale value. This is particularly useful for people looking to donate or sell breast milk for the first time.
If you are looking to buy human milk simply browse through the Categories above or the listings below, and if you need further advice visit our Breast milk Buyer’s Guidelines or contact us.

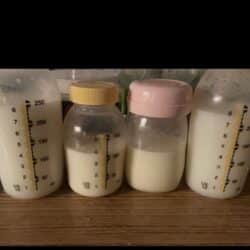
100% Pure Breastmilk
I am a healthy mother, breastfed all my babies and am selling my extra milk so you can too. I keep a good diet, avoid […]
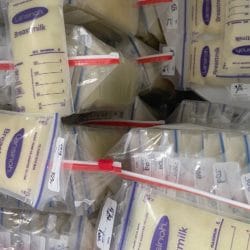
bulk breast milk
My toddler in need of breast milk him keep getting really bad ear infections im willing to paid you in shipping costs please help my […]
Healthy mom do not smoke or drink and do not eat pork.
I am a healthy new mom, I do not drink or smoke or eat pork. My baby is breastfeed by me no formula! He’s is […]
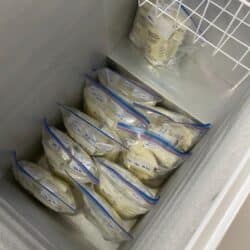
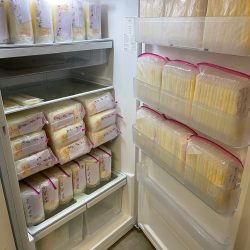
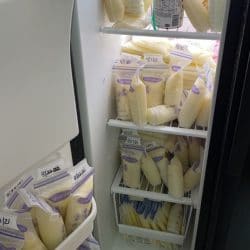
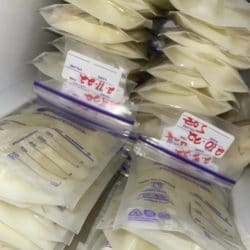
Oversupply of Breastmilk
I have an extreme amount of Breastmilk that I do not need. Over 200oz available right now. I have fresh and frozen milk available. No […]
Selling breast milk
Blessed to be over producing for my little one and would love to help others in need. I keep foods in my diet that help […]
help
i have digstion problems and more i am 63,please,i would like this to see if it helps,,Dennis
Human milk
Clean human breast milk, non smoker/ drinker! Eats clean and cut off all caffeine. Just have a oversupply
Selling Breast Milk
Hello! I finally had my baby boy that is currently 3 month’s and I’m a over pumper. He has no health issue nor do I […]
Breast milk for sale in Raynham, MA
Baby boy born 3/27/2021 Fully covid vaccinated No dietary restrictions Medications: Prenatal, citalopram, birth control Occasional caffeine, no recreational drugs, no alcohol Will pump fresh […]
Newborn overproducer
Hello! I am a 33 year old mother of a happy, healthy and thriving 2 week old. I have been producing more milk than I […]
Buy & Sell Breast Milk Online
The Biggest Breast Milk Selling & Buying Marketplace online!
- More Buyers, Sellers & Donors than any other Breast Milk Selling Marketplace - thousands of buyers and sellers every month!
- Easy process and a Dedicated Customer Service Team to entertain your queries!
- The only Breast Milk Marketplace with Certified Buyers and Donor/Seller Protection.
- The Best Value and Flexible Advertising options to maximize milk selling potential and profit!
- There is simply no where better to sell or donate your breast milk than BreastfeedingMomsUnite!
Whether you are looking to buy or sell your breast milk you've come to the right place! We are the leading breast milk marketplace, bringing together buyers and sellers. Become a free member and start listing your breast milk for sale within minutes. Manage you ad from your personalized dashboard.
Join Now!